Jun 09, 2025
PowerPoint: The Magnifying Trick Revealed!
Philip Wiest, Guest Blogger

Have you ever attended a webinar and wondered, “How’d They Do That?”
Often, the “trick” is a matter of simple building blocks.
In this example we’ll combine Cropping and Morphing — two basic skills that together create the PowerPoint magnifying glass effect!

PowerPoint's Magnifying Glass Effect Shows Your Audience What to Focus On!
Let’s say you have an image — a diagram, a screenshot, a photo, a map — and you need to “spotlight” important parts of it.
To do this, I want to show you how to use the “Magnifying Glass Technique” in PowerPoint.
In short, you have a “base image” and a circle appearing to move over the top of the base image. The circle is filled with a duplicate copy of the image.
Here are the steps!
Let’s Break Down the Steps for Using PowerPoint’s Magnifying Trick
- Take a slide-sized image and duplicate it
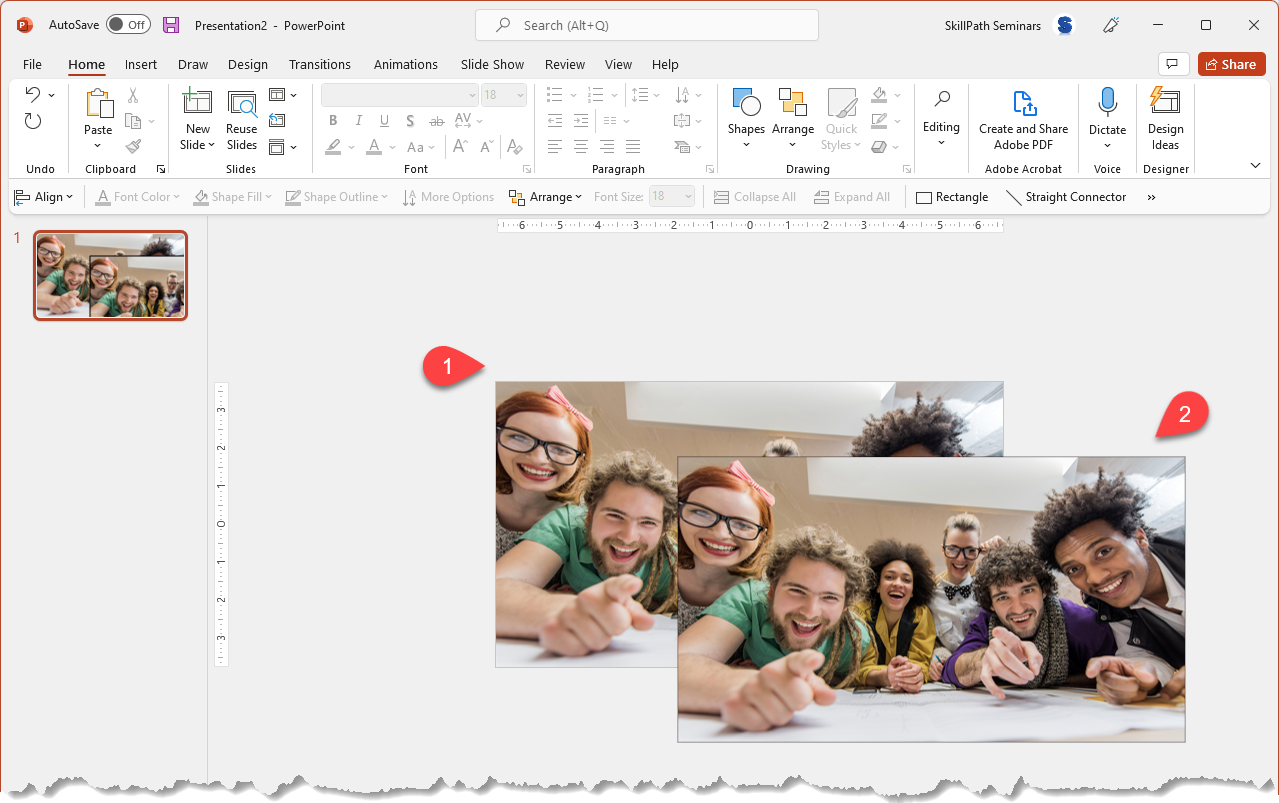
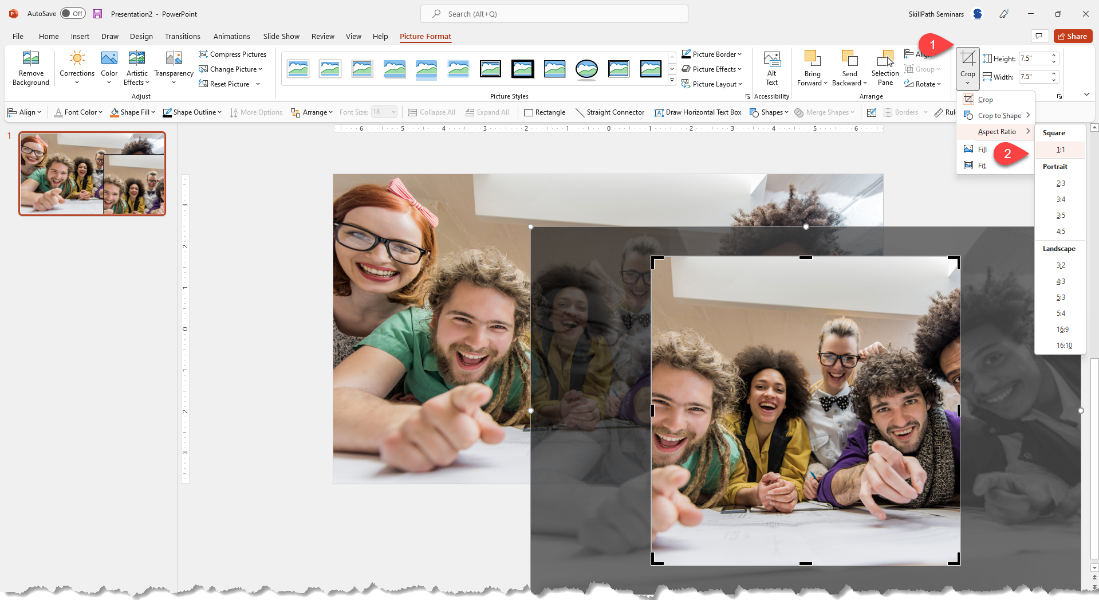
- Select the duplicate and click Crop
- On the Crop menu, select the Square 1:1 option
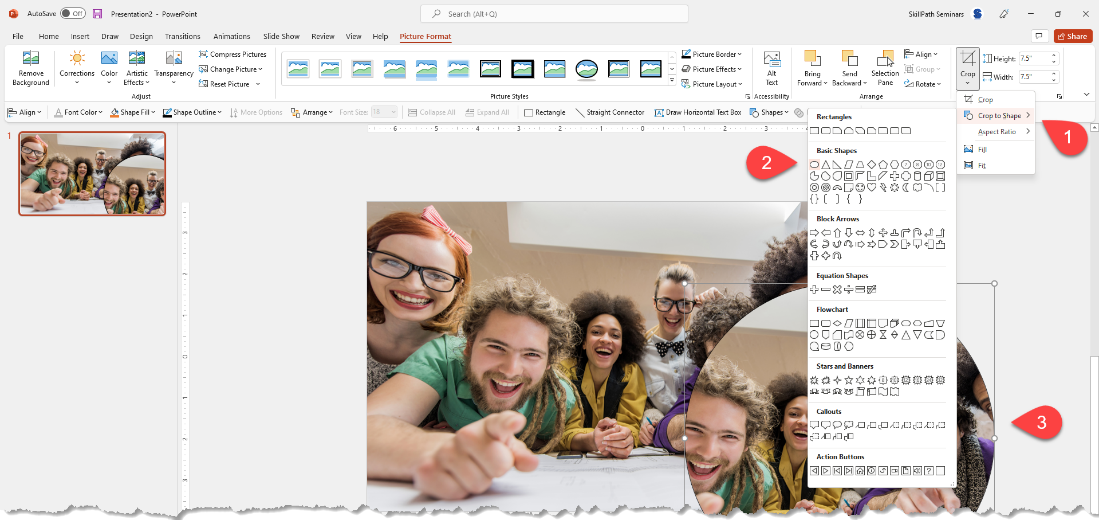
- Convert the square to a circle
- Format the “magnifier” with a standard style: Beveled Oval, Black
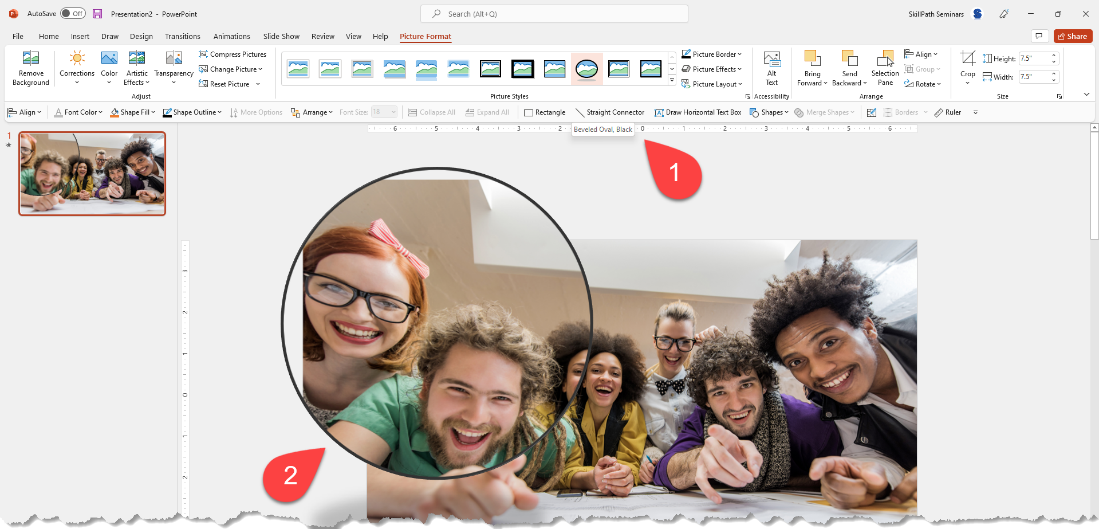
- Duplicate the base slide a few times and, on each slide, position the magnifying glass over the part of the base image and click crop.
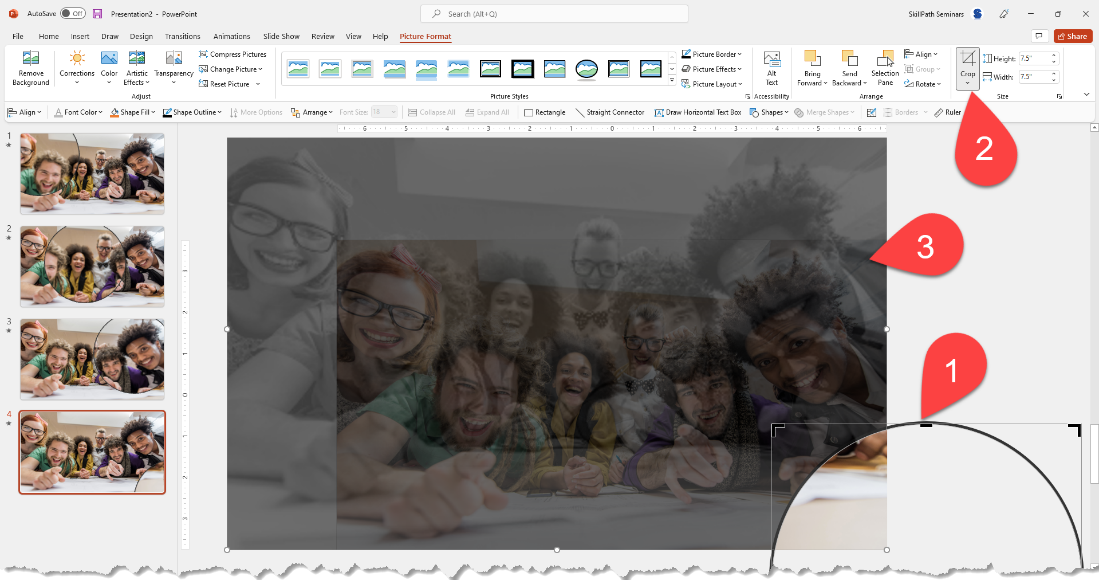
- Now you can resize the image within the circle to make it larger!
Do this on the remaining slides and apply the “Morph” transition to all of them!

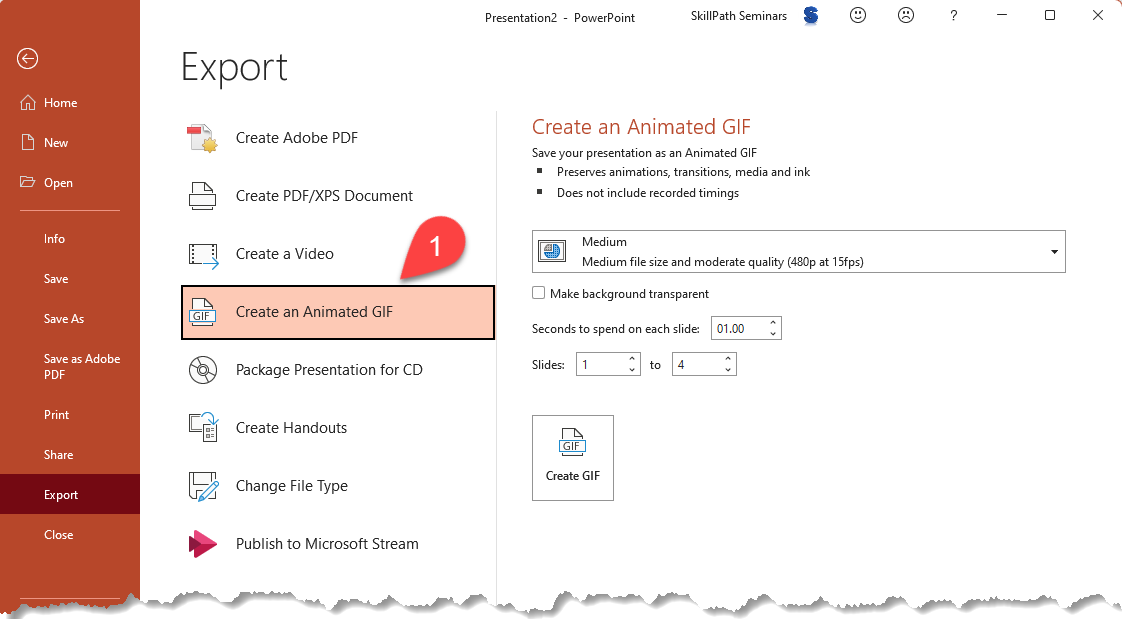
How to Include the PowerPoint Magnifier in a GIF
Do you want to post your work online and have the magnifier part of a SharePoint or Teams conversation?
To export your slide deck as a “Animated Gif,” click File > Export > Create an Animated GIF
Register now and learn more about making your presentations stand out: PowerPoint Presentations: 60 Minutes to Mastery.
The Result of the magnifying glass PowerPoint effect
Whether it’s a slide deck or an animated GIF, this is something that will focus everybody’s attention and magnify your stature among your peers!

Ready to learn more? Check out some of SkillPath’s live virtual training programs, on-demand video training or get it all with our unlimited eLearning platform.
Philip Wiest
Guest Blogger
Philip Wiest is an expert software trainer, computer analyst and database consultant who knows both the intricacies of computer systems and the ways today’s professionals need to use these essential business tools. Using his experience in Microsoft Excel and Microsoft Office, as well as Windows and the Internet, Phil uses a special mix of tactful guidance and distilled observation so his audiences learn and retain the critical keystrokes, application combinations and creative processes that save time and simplify computer use.
Latest Articles
Article Topics